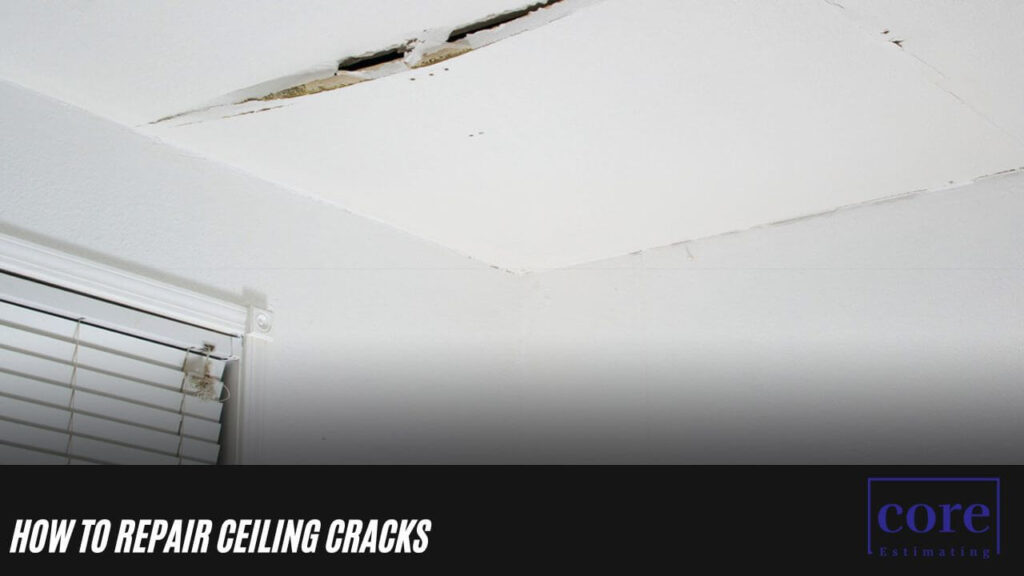
Ceiling cracks can be a cause for concern, but not all of them indicate serious structural issues. Many cracks are cosmetic and can be addressed with a straightforward repair process. In this guide, we’ll walk you through the steps to repair ceiling cracks and provide insights into differentiating minor cracks from more severe ones.
Understanding the Repair Ceiling Cracks
Ceiling cracks can result from various factors, including settling of the house, expansion and contraction during settling, damage from above, improper taping joints, water damage, and, in rare cases, structural damage. Identifying the cause is crucial before proceeding with repairs.
If you’re in need of construction estimate services, simply go to homepage or follow the links below:
| Services | Links |
|---|---|
| Detailing Services | Link |
| Building Information Modeling | Link |
| General Contractor | Link |
| Subcontractors | Link |
| MEP | Link |
Differentiating Minor and Serious Cracks:
Not all ceiling cracks require immediate attention. Long, continuous cracks matching wall cracks, significant bows in the ceiling, or cracks accompanied by difficulty opening doors and windows may indicate serious structural problems. Understanding these distinctions is vital for effective and targeted repairs.
Safety Considerations:
Before diving into repairs, it’s essential to consider safety. When dealing with attic spaces, be cautious not to step on drywall between joists, as it may contain asbestos, especially in insulation called vermiculite. If asbestos is suspected, consult an asbestos mitigation company for testing and removal.
Steps to Repair Ceiling Cracks:
- Score the Crack:
- Use a utility knife to score the crack, removing any loose plaster or material inside.
- Apply Mesh Tape:
- Cover the crack with mesh tape to allow mud to bond directly to the plaster, strengthening the repair.
- Secure Drywall (if applicable):
- For drywall ceilings, add screws to hold both halves in place and even out the crack.
- Apply Joint Compound:
- Spread joint compound over the taped crack for a smooth and sturdy repair.
- Sand the Ceiling:
- Once the joint compound is dry, sand the ceiling to achieve a seamless finish.
- Prime and Paint:
- Finish the repair by priming and painting the ceiling to match its original appearance.
Identifying the Cause Before Repair:
Before starting the repair process, it’s crucial to pinpoint the cause of the ceiling crack. Whether it’s water damage, settling, or improper taping, addressing the root issue ensures a lasting fix.
Planning the Repair:
A successful ceiling crack repair requires planning. Depending on the type of ceiling texture and the extent of the crack, you may need to remove some texture, patch the ceiling, or consider retexturing and painting for a polished finish.
Conclusion
Repairing ceiling cracks can be a manageable task with the right approach. By understanding the causes, differentiating between minor and serious cracks, prioritizing safety, and following a systematic repair process, you can restore the integrity and aesthetics of your ceiling.


